Spoiler Decal Installation
This page is for detailed instructions on how to install the Spoiler Decals. If you are looking for instructions on a different product, go here.
CERAMIC COATED CARS: Please understand that your ceramic coating will reduce the vinyl's ability to stick to your car, and may lead to easy peeling or pulling away. It is strongly recommended that you first remove the ceramic coating in the areas your wish to put the vinyl on, then once the vinyl is installed and has had time to fully set in, re-apply the ceramic coating to the area.
NOTE: If you are not familiar with vinyl decal or car wrap installation, we strongly recommend professional installation to reduce the risk for error or mistakes. We understand that mistakes happen. While mistakes in installation are not covered in our returns policy, if you should slip up and need some replacement pieces, please reach out to us via email: support@mustangrestyled.com and we will do everything we can to get you just the replacement pieces you need at a reduced price.
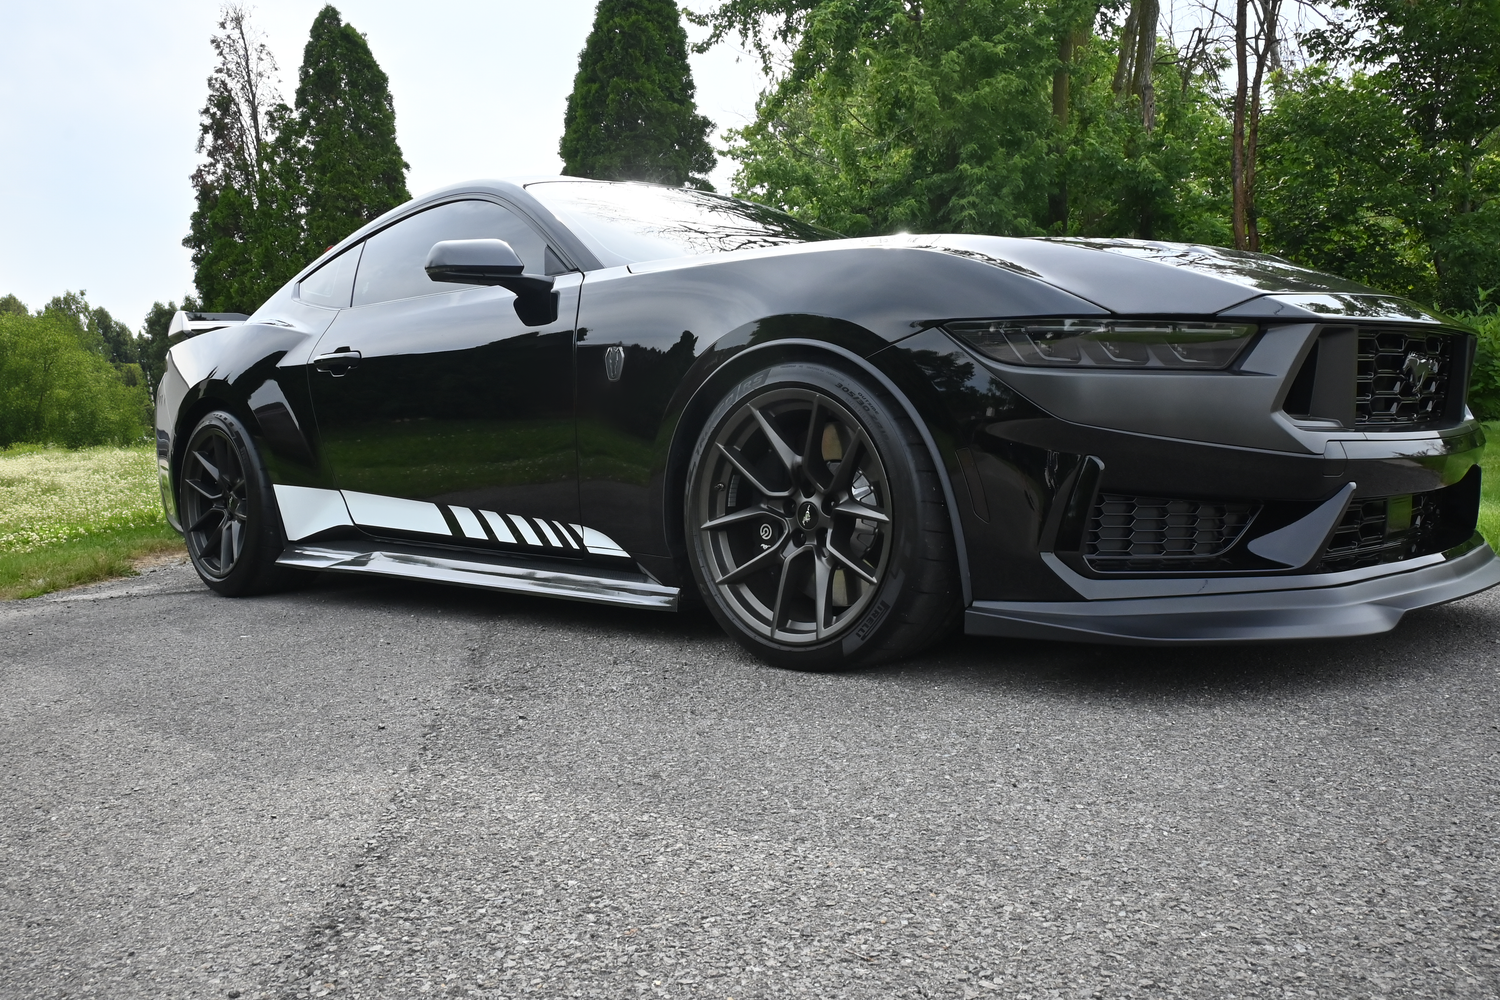
- For the first step, you will want to unroll the decal and line it up on the spoiler in the exact spot you wish it to be. Typically this is centered vertically between the lower edge and upper curve of the spoiler. The decal is designed to fit centered horizontally to follow the curve of the spoiler.
NOTE: Be sure to align it based on the vinyl and not on the edge of the backing paper. The backing paper may be larger and uneven compared to the actual decal vinyl. - Once you have the align the decal, use automotive detailing tape or painters tape to hold one side of the decal down. We suggest you tape a line in the middle and then tape around the edges a few places to ensure it doesn't move. Avoid getting the tape over the vinyl areas as this might pull some of the transfer tape away when you remove this painters tape/automotive tape later on in the process.
Photos for steps 1 and 2:


- Next you will want to pull back the transfer layer from the un-taped down side slowly to make sure the vinyl is pulling away from the backing paper and still attached to the transfer layer. Gently lay it over the other half of the decal, sticky side facing up.
- Carefully cut the backing paper with a sharp razor blade or scissors, do not touch the spoiler as that could cause scratches! Once cut, remove that half of the backing paper.
Photos from steps 3 and 4:


- No you can grab the half of the decal without backing paper and start from the center, slowly laying the decal down on the spoiler, applying pressure on top of the letters so they stick to the spoiler and will allow the transfer tape to remove cleanly. Go slowly to ensure that you are following the lines of the spoiler correctly and not getting out of alignment. Once the letters are stuck down, they will not be movable without damaging the vinyl or reducing the adhesion properties.
Continue this until the entire half is pressed down. Use a squeegee or credit card wrapped in a microfiber to apply pressure to the letters to lock them down.
Photos from step 5:

- After the first half is pressed down, you can remove the painters tape/automotive tape holding down the other side. Be careful to remove slowly and not cause the transfer layer to pull away from the vinyl.

- Lift the side with the backing paper still attached and remove it slowly again to make sure all the vinyl sticks to the transfer layer. You can lay it over the other half of the decal, sticky side up again.


- Now lift the half of the decal and again slowly press down ensuring you keep your alignment and apply pressure to the letters to that they adhere strongly to the spoiler. Go slowly, one letter, one inch at a time as once the vinyl is anchored down, it will not be easily moved without ruining the vinyl or adhesion properties.

- Go over every letter again with your squeegee to ensure strong adhesion to the spoiler. Now you can begin pealing away the transfer layer. Start at either side, peal up a corner, and then slowly peal it away in the opposite direction, using your hand as a guide. The transfer tape should be pulling as closely to the spoiler as possible to ensure it isn't adding stress to the vinyl. If you were to pull the transfer tape straight up instead of very horizontally across you increase the chance of vinyl pulling away from the spoiler. Go slowly, inch by inch again. If any spots of the vinyl pull away from the spoiler, press them back down firmly, then continue pulling the transfer tape away.


- Finished product! Allow 2-3 days of sun exposure to help cure the spoiler text adhesives and do not wash this area for 2 weeks if you can avoid it. Be careful using wash mitts or clothes on these decals in the future so you don't snag a corner and lift part of a letter off. Only use very light pressure when necessary for cleaning.
